Mawu Oyamba
The vebiliki Indoor Camera Q09 is a versatile home security device designed to provide clear 2K Ultra HD video surveillance. It features enhanced night vision capabilities, including color night vision, and a two-way audio system for communication. With dual-band 5GHz and 2.4GHz Wi-Fi connectivity, real-time motion detection, and flexible storage options, this camera offers comprehensive monitoring for your home, pets, or children. Its magnetic base allows for easy, damage-free installation.
Zomwe zili mu Bokosi
- 2K 3MP 5GHz & 2.4GHz Dual-Band WiFi Indoor Camera
- Magnetic Stickers & Screws
- Power Adapters & Cords
- Buku Logwiritsa Ntchito
Zathaview
Dziwani bwino zinthu zomwe kamera ili nazo:
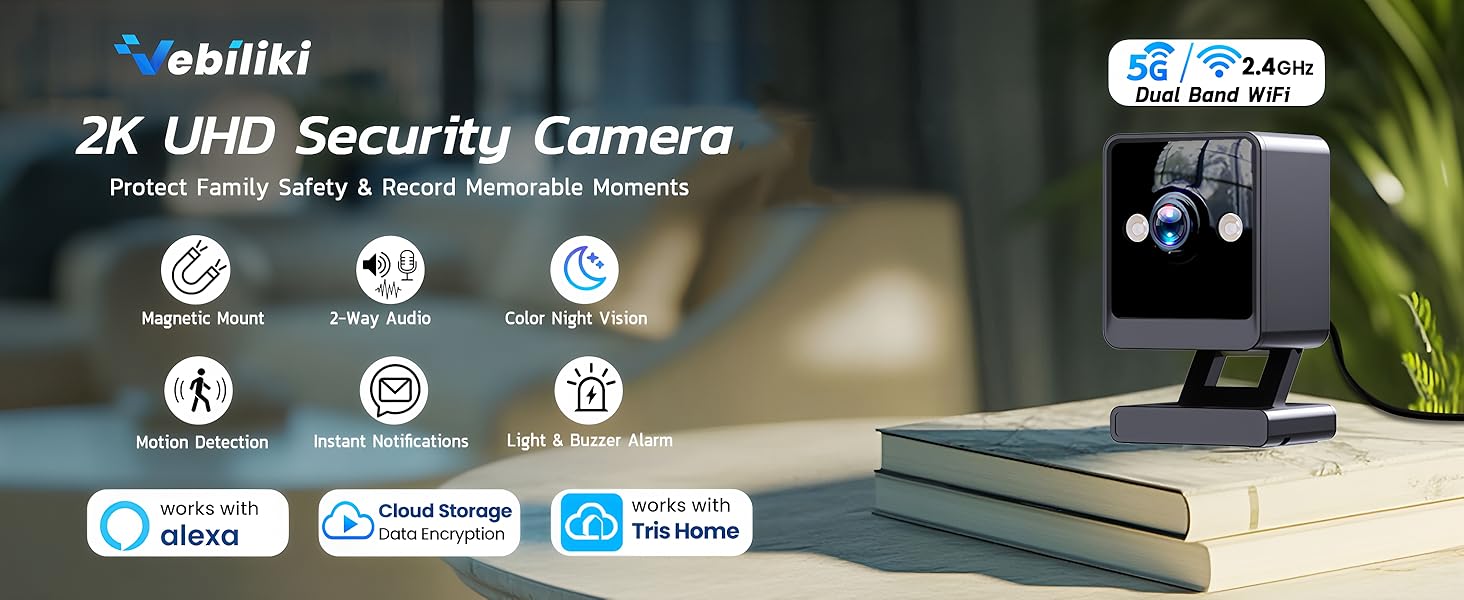
Figure 1: Camera Front and Back View with Component Labels
The camera features a microphone, lens, light sensor, white lights, infrared lights, and a reset button on the front. The back includes a speaker, power input, and a micro SD card slot. The magnetic flex mount allows for versatile positioning.
Khazikitsa
- Download the Tris Home App: Saka "Tris Home" on the App Store (iOS) or Google Play Store (Android) and download the application. Register an account using your frequently used email address.
- Yatsani: Plug the camera into a power outlet using the provided cable and adapter. Wait approximately 30 seconds until you hear "System starting up."
- Onjezani Chipangizo: Open the Tris Home App. Click the "+" button to add a device. You can either wait for automatic Bluetooth searching or set it up manually by selecting 'Square Camera' under the 'Wi-Fi Camera' tab.
- Lumikizani ku Wi-Fi: Enter the name and password of your private Wi-Fi network. Ensure both 5GHz and 2.4GHz networks are correctly configured for a successful connection.
- Kusintha: Follow the on-screen prompts to set a name for your new camera and choose the working mode. You can modify these settings later in the camera's settings page.
- Ndinu okonzeka!
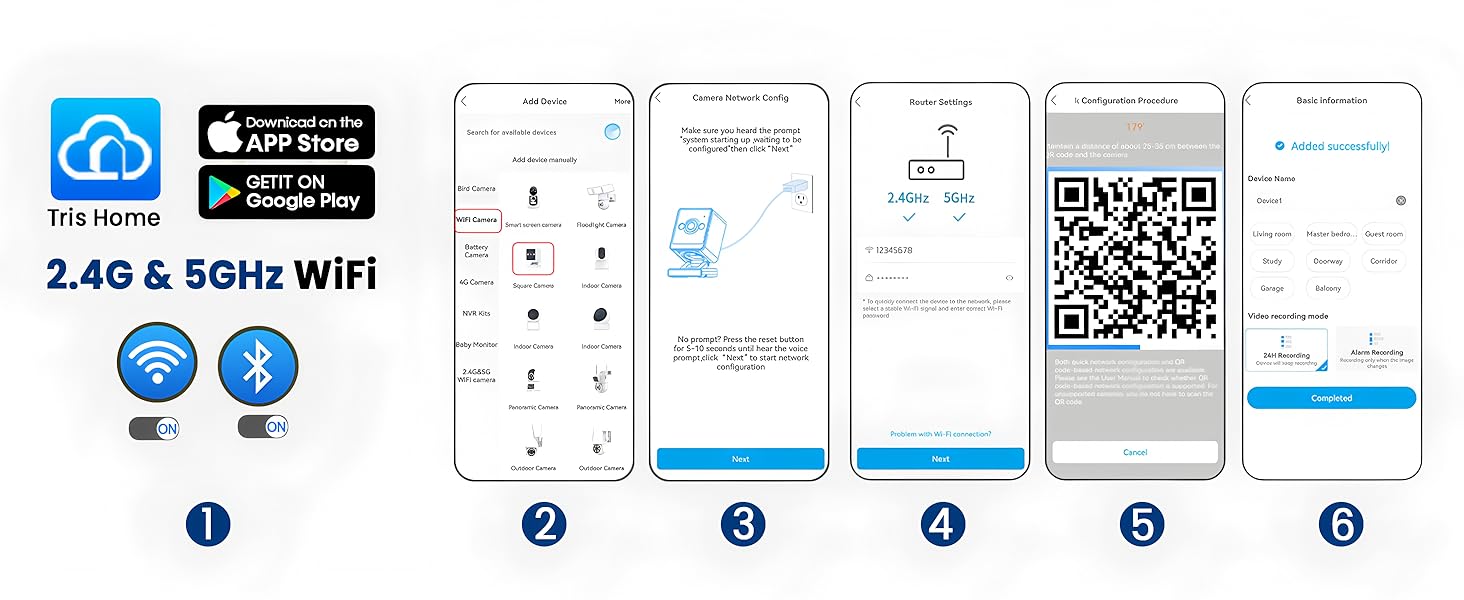
Figure 2: Tris Home App Setup Process
Kuyika
The camera comes with a non-detachable magnetic flex mount. You can stick the mount directly onto metal surfaces, or use the provided screws to secure the camera to a wall, ceiling, or tree. The provided metal plate is for mounting the magnetic flex mount on walls. Do NOT use it on rough, uneven, or porous surfaces like brick, concrete, or unfinished wood. Don't forget to remove the protective film/liner from both sides of the metal plate. Allow the metal plate to adhere for at least 12 hours before attaching the camera. Insufficient setting time may cause the 3M tape to be less effective, increasing the risk of the camera falling.

Figure 3: Magnetic Base Installation Guide
Kugwiritsa ntchito kamera
2K Ultra HD & Enhanced Night Vision
The vebiliki indoor camera provides 2K UHD resolution (up to 2304 x 1296) for clear and vivid image quality. It features two infrared lights and two white lights, enabling clear images even in completely dark environments. Color night vision can be activated for improved visibility.

Figure 4: Infrared Night Vision
2-Way Smooth Audio & Multi-Screen View
The upgraded built-in microphone and speaker allow for smooth two-way communication with family members or pets. The Tris Home App supports unlimited camera connections and allows viewing up to 4 online videos on a single screen simultaneously, providing comprehensive monitoring of multiple areas.
Video 1: Demonstration of 2-Way Audio

Figure 5: Multi-Screen Live View in Tris Home App
Real-Time Motion Detection & Notifications
Receive instant notifications on your phone when motion or sound is detected. Customize detection ranges and sensitivity in the Tris Home App to minimize false alarms. The camera can also trigger alarm beeps and spotlights to deter intruders.

Figure 6: Motion Detection Alert
Dual-Band Wi-Fi & Alexa Compatibility
The camera supports both 5GHz and 2.4GHz Wi-Fi bands, offering faster speed and stronger anti-interference with 5GHz, and wider coverage with 2.4GHz. It also works with Alexa, allowing for voice control and integration into your smart home system.
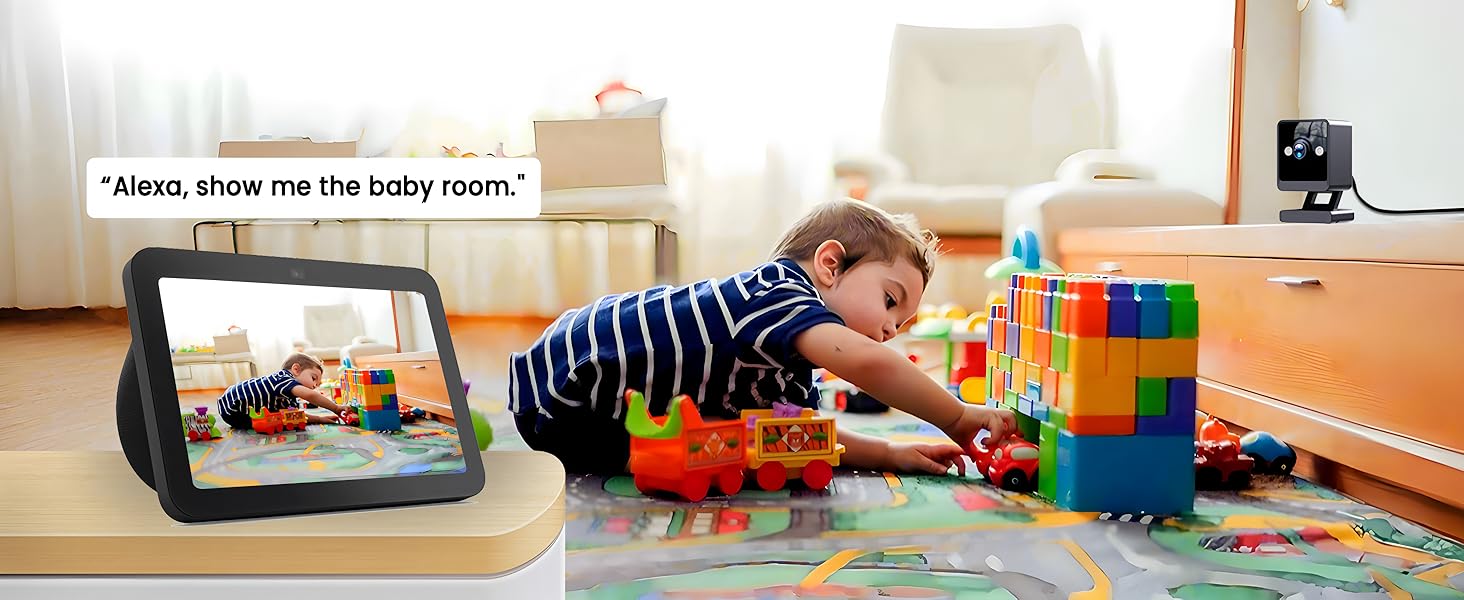
Figure 7: Works with Alexa
Zosungirako Zosungira
The vebiliki Indoor Camera Q09 offers flexible storage solutions for your recorded footage:
- Yaying'ono Khadi Sd: Supports up to 128GB (not included). This allows for 24/7 loop recording and motion-activated recording.
- Cloud Plan: A recommended option offering 24/7 loop recording with no storage limit. All recorded videos are fully encrypted and protected, accessible via remote playback.

Figure 8: SD Card and Cloud Storage Options
Kugawana Access
You can share access to your camera's live feed and recordings with family and friends through the Tris Home App. Simply navigate to the sharing options within the app and grant desired permissions.

Figure 9: Sharing Camera Access
Zofotokozera
| Mbali | Tsatanetsatane |
|---|---|
| Kusamvana | 2K (2304 x 1296) |
| Kanema Compression | Anzeru H.265 + |
| Lens | 3.6 mm |
| Kanema File Kukula | 4.5GB/Day (24-hour recording) |
| Record Mode | Micro SD card / Cloud storage |
| Mtundu Woyera Woyera | 16 ft (5 m) |
| Infrared Light Range | 16 ft (5 m) |
| Maikolofoni | Zomangidwa mkati |
| Wokamba nkhani | Zomangidwa mkati |
| Mtundu wa Audio | 16 ft (5 m) |
| Wifi | 2.4GHz & 5GHz network |
| Kupanga kwa Wi-Fi | Bluetooth (setup only), Scan QR code |
| Cloud Server | Powered by Amazon Web Utumiki |
| Magetsi | 5V 1A |
| Kugwiritsa Ntchito Mphamvu | 3W |
| Kutentha kwa Ntchito | 14°F mpaka 131°F (-10°C mpaka +55°C) |
| Chinyezi Chogwira Ntchito | 10% mpaka 90% |
Kusaka zolakwika
If you encounter issues with your vebiliki Indoor Camera Q09, please refer to the following common solutions:
- Nkhani Zolumikizana: Ensure your Wi-Fi network is stable and both 2.4GHz and 5GHz bands are correctly configured. Try resetting the camera using the reset button.
- Ubwino Wazithunzi: Verify that the camera lens is clean. Ensure adequate lighting for optimal night vision performance.
- Kuzindikira Zoyenda: Adjust the detection sensitivity and customize detection zones in the Tris Home App to prevent frequent false alarms.
- Mavuto Omvera: Check the volume settings in the app and ensure there are no obstructions around the microphone or speaker.
Kuti mudziwe zambiri, chonde lemberani chithandizo chamakasitomala.
Chitsimikizo & Thandizo
vebiliki provides a 2-year after-sale service for any reason. If you have any questions about the connection, setup, or operation of your camera, please contact our customer support team. We are committed to providing the best solution within 24 hours.
Video 2: vebiliki Indoor Camera for Home Security Overview
Zambiri zamalumikizidwe:
- Imelo: support.trishome@javiscam.com
- Foni: + 1 888-966-6962
- Webtsamba: www.javiscam.com


