Mawu Oyamba
This manual provides essential information for the proper installation, operation, and maintenance of your E-flite 26g Digital MG Mini Servo (EFLR7145). This high-quality digital servo features metal gears for durability and precise control, making it suitable for various remote-controlled aircraft applications. It is designed for immediate use without requiring assembly.
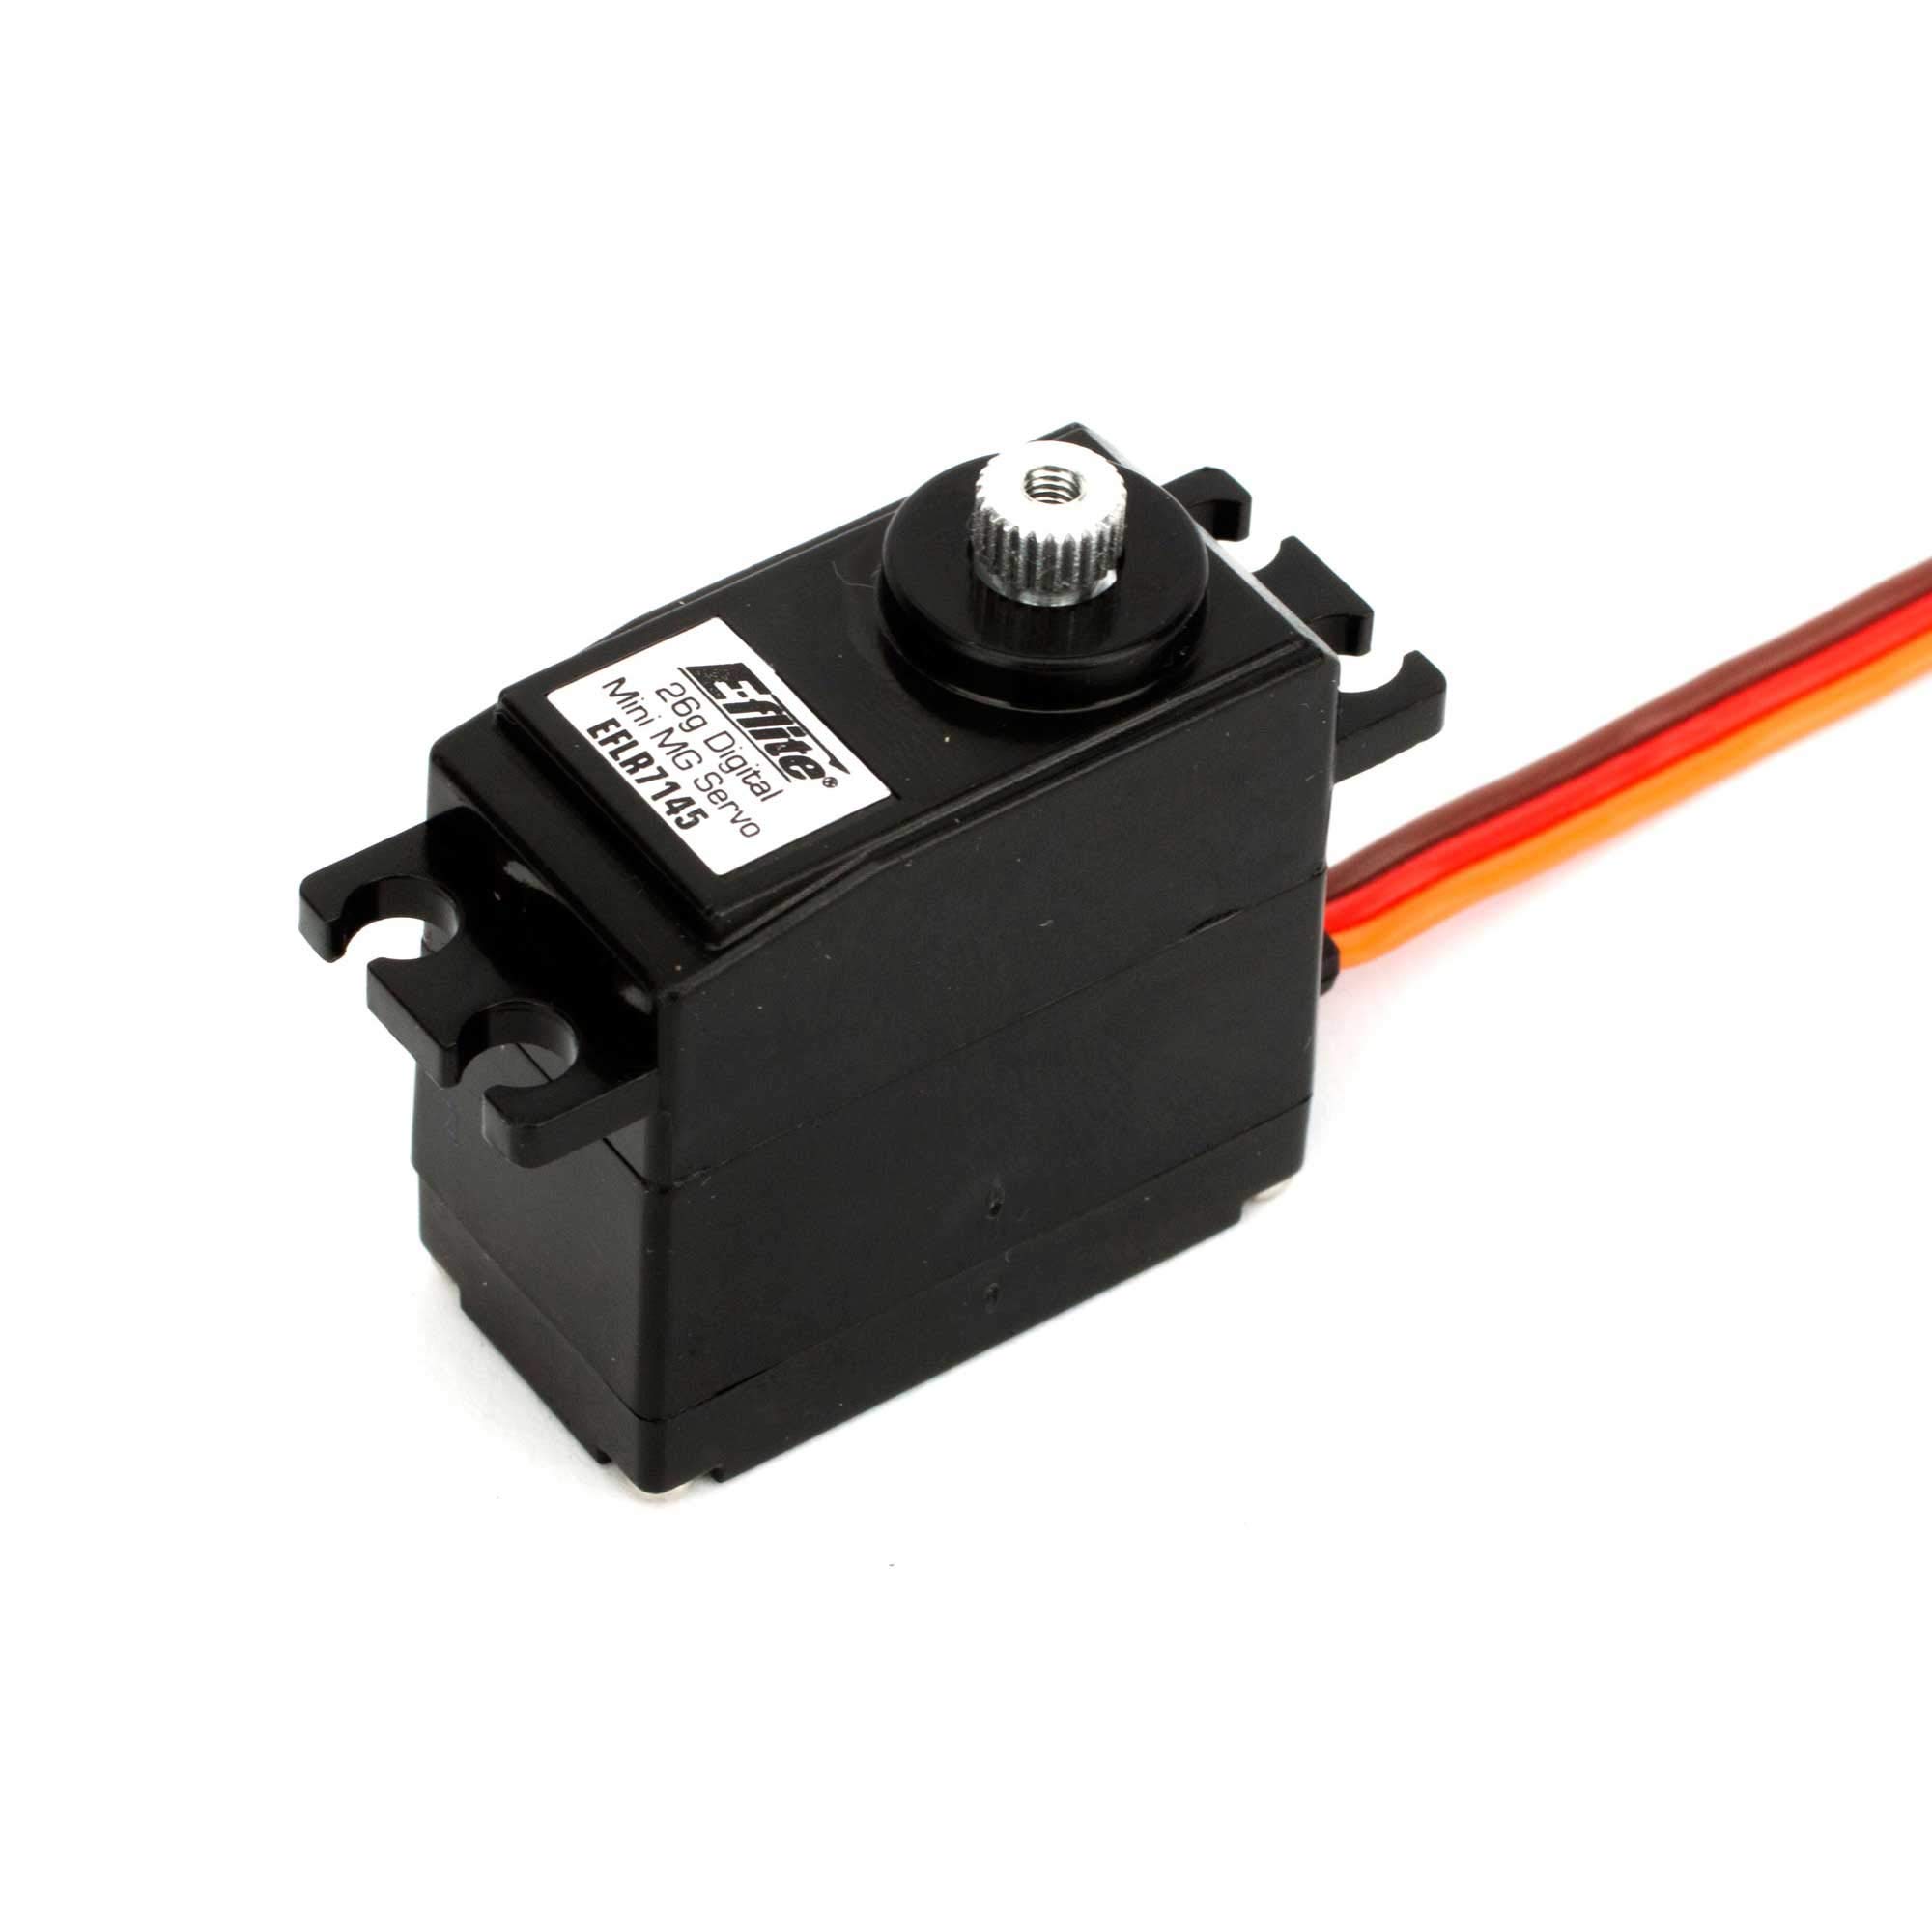
Image: The E-flite 26g Digital MG Mini Servo (EFLR7145). This compact servo is equipped with metal gears for enhanced precision and longevity in RC models.
Kukhazikitsa ndi Kuyika
Kutulutsa
Carefully remove the servo from its packaging. Verify that the servo is free from any visible damage. This product is ready to use and does not require assembly.
Mounting the Servo
Install the servo into the designated servo bay of your RC model. Ensure a secure fit to prevent movement during operation. Use appropriate mounting screws (not included with the servo) that are compatible with your model's design. It is recommended to use rubber grommets (if applicable to your model) to reduce vibration transfer to the servo.
Connecting to Receiver
Connect the servo's lead to the corresponding channel on your RC receiver. Ensure the connector is inserted with the correct polarity. Refer to your receiver's manual for specific channel assignments (e.g., aileron, elevator, rudder). Note that the servo comes with a short wire lead; an extension may be required depending on your model's layout.
Malangizo Ogwiritsira Ntchito
The E-flite 26g Digital MG Mini Servo operates by converting electrical signals from your RC receiver into precise mechanical movements. These movements are then used to control various surfaces or functions on your model.
Initial Power-Up and Centering
Before connecting any control linkages, power on your RC transmitter, then your receiver. The servo should move to its neutral (centered) position. If it does not, verify your transmitter's trim settings are at neutral. Once centered, attach the servo horn and connect it to the control surface linkage, ensuring the control surface is also in its neutral position.
Control Surface Linkage
Adjust the control linkages to achieve the desired range of motion for your model's control surfaces. Use your transmitter's End Point Adjustment (EPA) or Travel Adjust settings to fine-tune the servo's travel limits, preventing over-travel and potential damage to the servo or linkages.
Kusamalira
- Khalani Oyera: Regularly inspect the servo for dirt, dust, or debris, especially around the output shaft and gears. Clean with a soft, dry brush or compressed air.
- Onani Malumikizidwe: Ensure all electrical connections to the receiver are secure and free from corrosion.
- Inspect Gears: Periodically check the metal gears for any signs of wear or damage. While metal gears are durable, excessive force or impacts can cause damage.
- Pewani Kulemetsa: Do not subject the servo to forces beyond its specified torque limits, as this can lead to premature wear or failure.
- Posungira: Store the servo in a dry, cool environment away from direct sunlight and extreme temperatures.
Kusaka zolakwika
- Servo Not Responding:
- Verify the receiver and transmitter are powered on and properly bound.
- Check all electrical connections between the servo and receiver for proper insertion and polarity.
- Ensure the receiver is receiving adequate power from the battery.
- Inconsistent or Limited Travel:
- Some E-flite servos, even with the same part number, may have updated internal programming that limits maximum travel compared to older versions.
- Adjust the End Point Adjustment (EPA) or Travel Adjust settings on your transmitter to maximize travel within safe limits.
- Ensure there are no mechanical obstructions preventing full servo movement.
- Servo Fails or "Fizzles" at Higher Voltage:
- The E-flite 26g Digital MG Mini Servo is designed for specific voltage ranges. Operating it at voltages exceeding its maximum rating (e.g., 6.5V with a 2S LiFe receiver battery if not rated for it) can cause damage or failure.
- Always verify the operating voltage of your power system is compatible with the servo's specifications.
- Zida Zosowa:
- This servo typically does not include mounting screws, servo arms, or servo bolts.
- Retain hardware from your original servo or purchase compatible hardware separately.
Zofotokozera
| Mbali | Tsatanetsatane |
|---|---|
| Miyeso Yazinthu | 3.9 x 1.9 x 0.75 mainchesi |
| Kulemera kwa chinthu | 0.64 pawo |
| Nambala ya Model | EFLR7145 |
| Wopanga | E-flite |
| Zaka zovomerezeka | Miyezi 14 kupita pamwamba |
| Mabatire | Batri imodzi Yosakhala Yachizolowezi ikufunika |
| Yoyamba Yopezeka | Ogasiti 19, 2011 |
Chitsimikizo ndi Thandizo
E-flite products are backed by a manufacturer's warranty. For detailed warranty information, technical support, or service inquiries, please visit the official E-flite webtsamba kapena funsani dipatimenti yawo yothandizira makasitomala. Sungani umboni wanu wogula kuti mutenge chitsimikizo.